Import data from Xero
Before you can explore the reports and prepare presentations you need to get the data from Xero, by following the steps described below.
Data flow
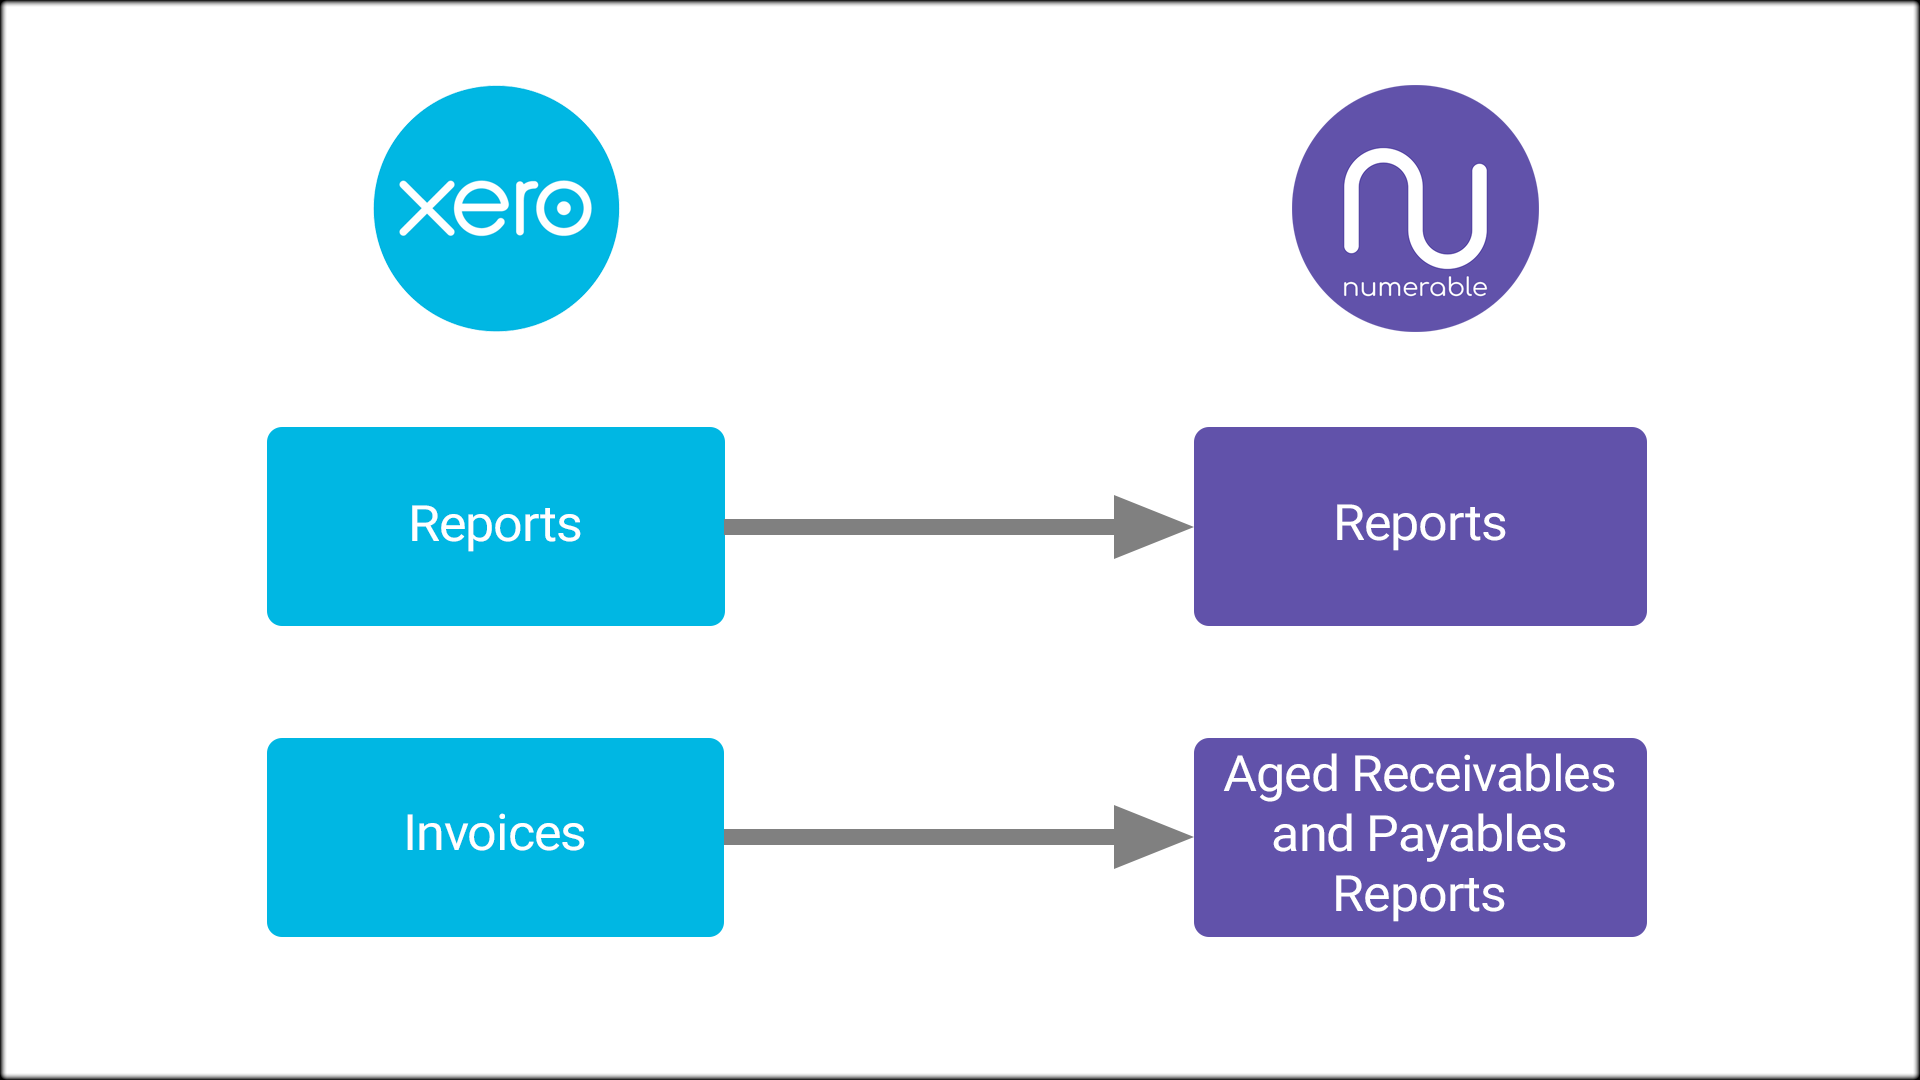
Numerable copies reports and invoices data from your selected Xero organisation into Numerable.
Numerable never writes anything to Xero.
Step 1 – Add or Refresh Xero Reports
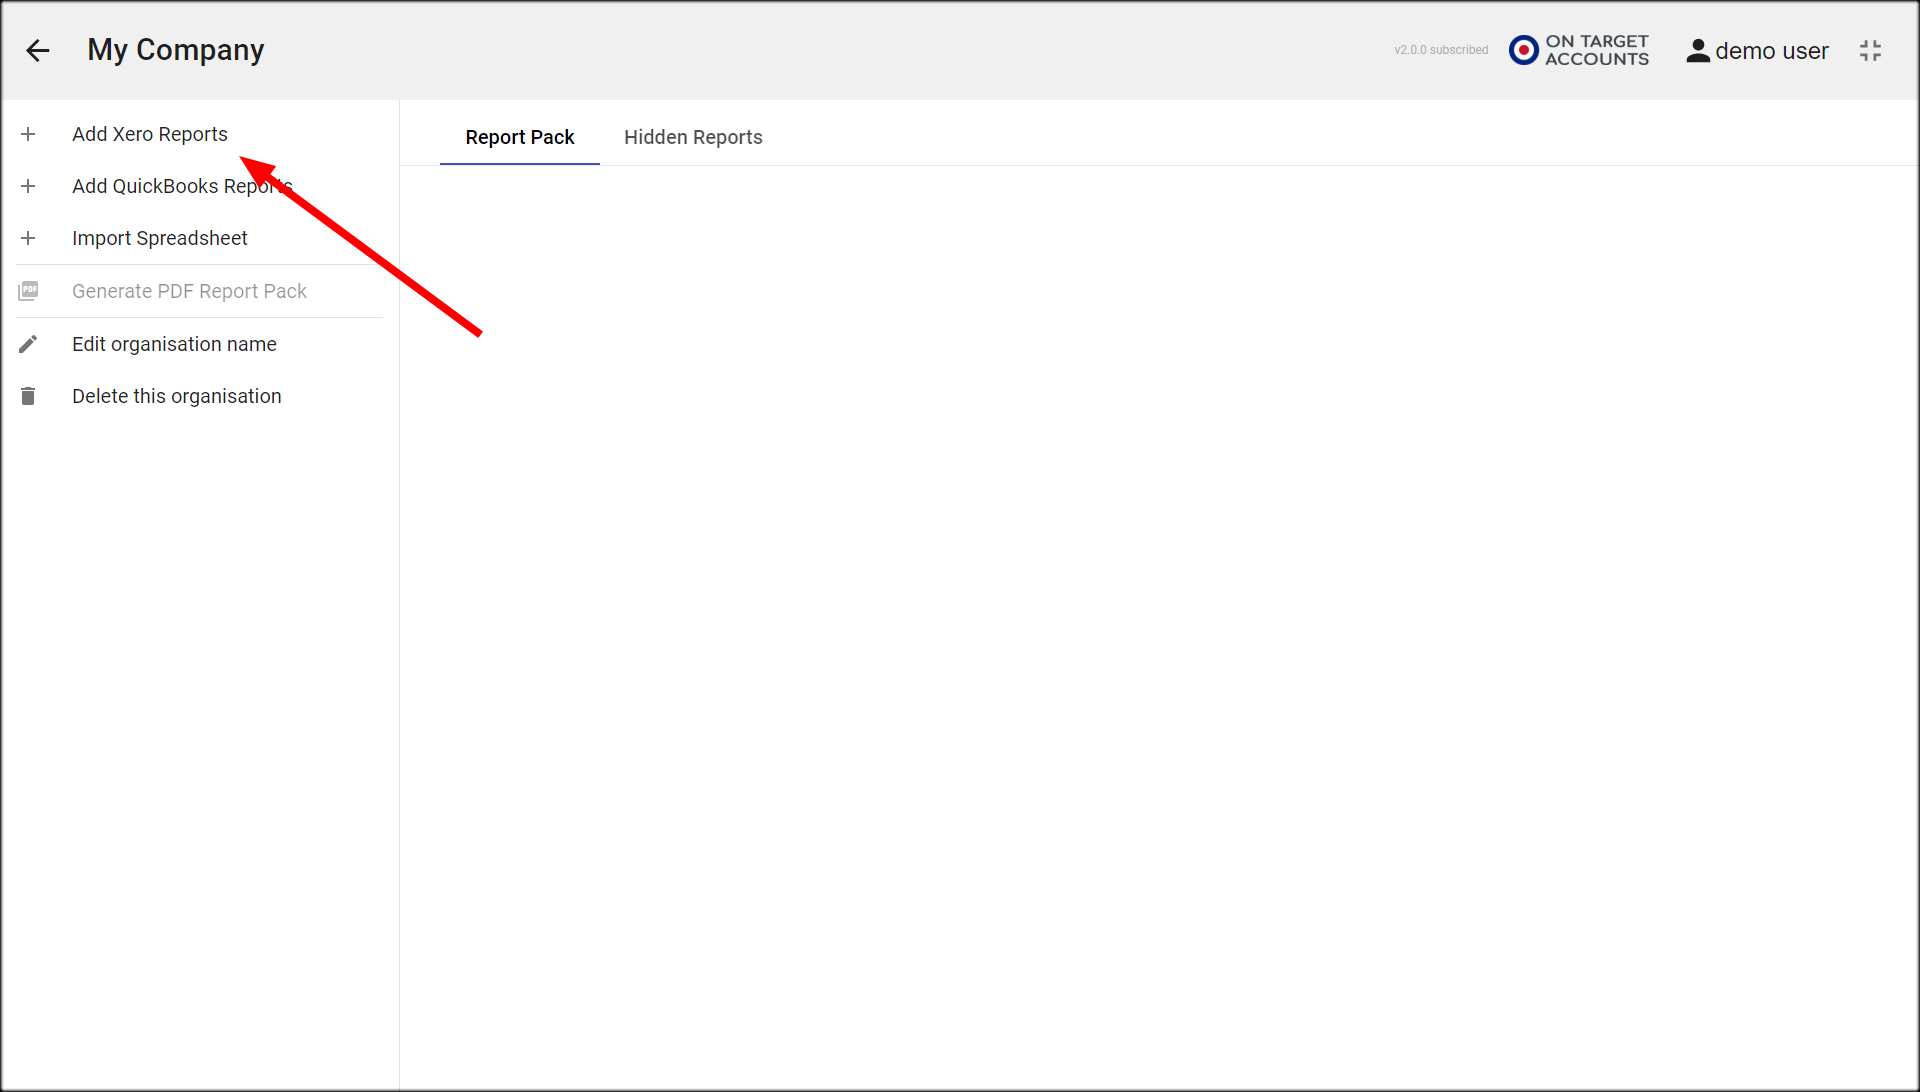
To import reports data for an organisation, go to the relevant Organisation page in Numerable.
If this organisation does not yet have any Xero reports in Numerable, then click on the ‘Add Xero Reports’ in the left column.
If you have previously imported Xero Reports for this organisation then you can click on ‘Refresh Xero Reports’.
Step 2 – Import from Xero dialog
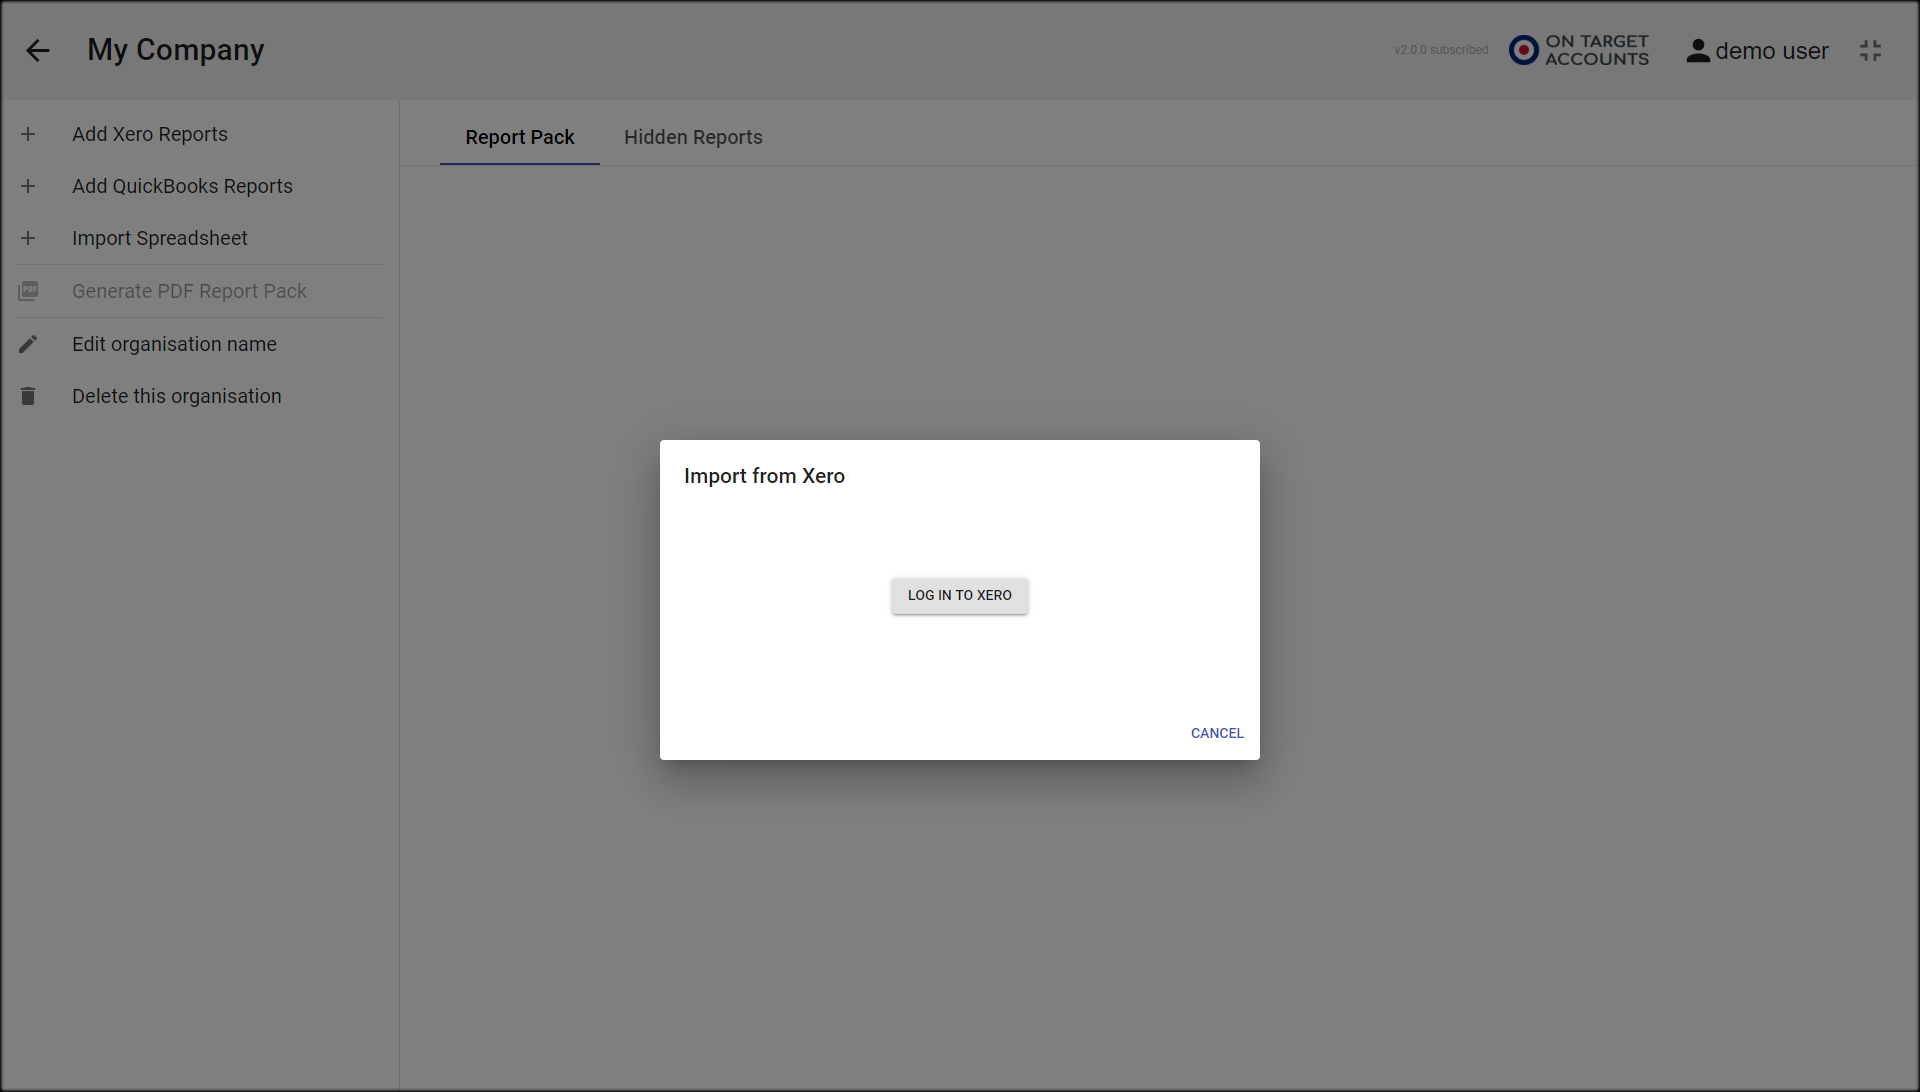
Next you see a dialog box
Click on the ‘Log In to Xero’ button to go ahead.
Step 3 – Login to Xero
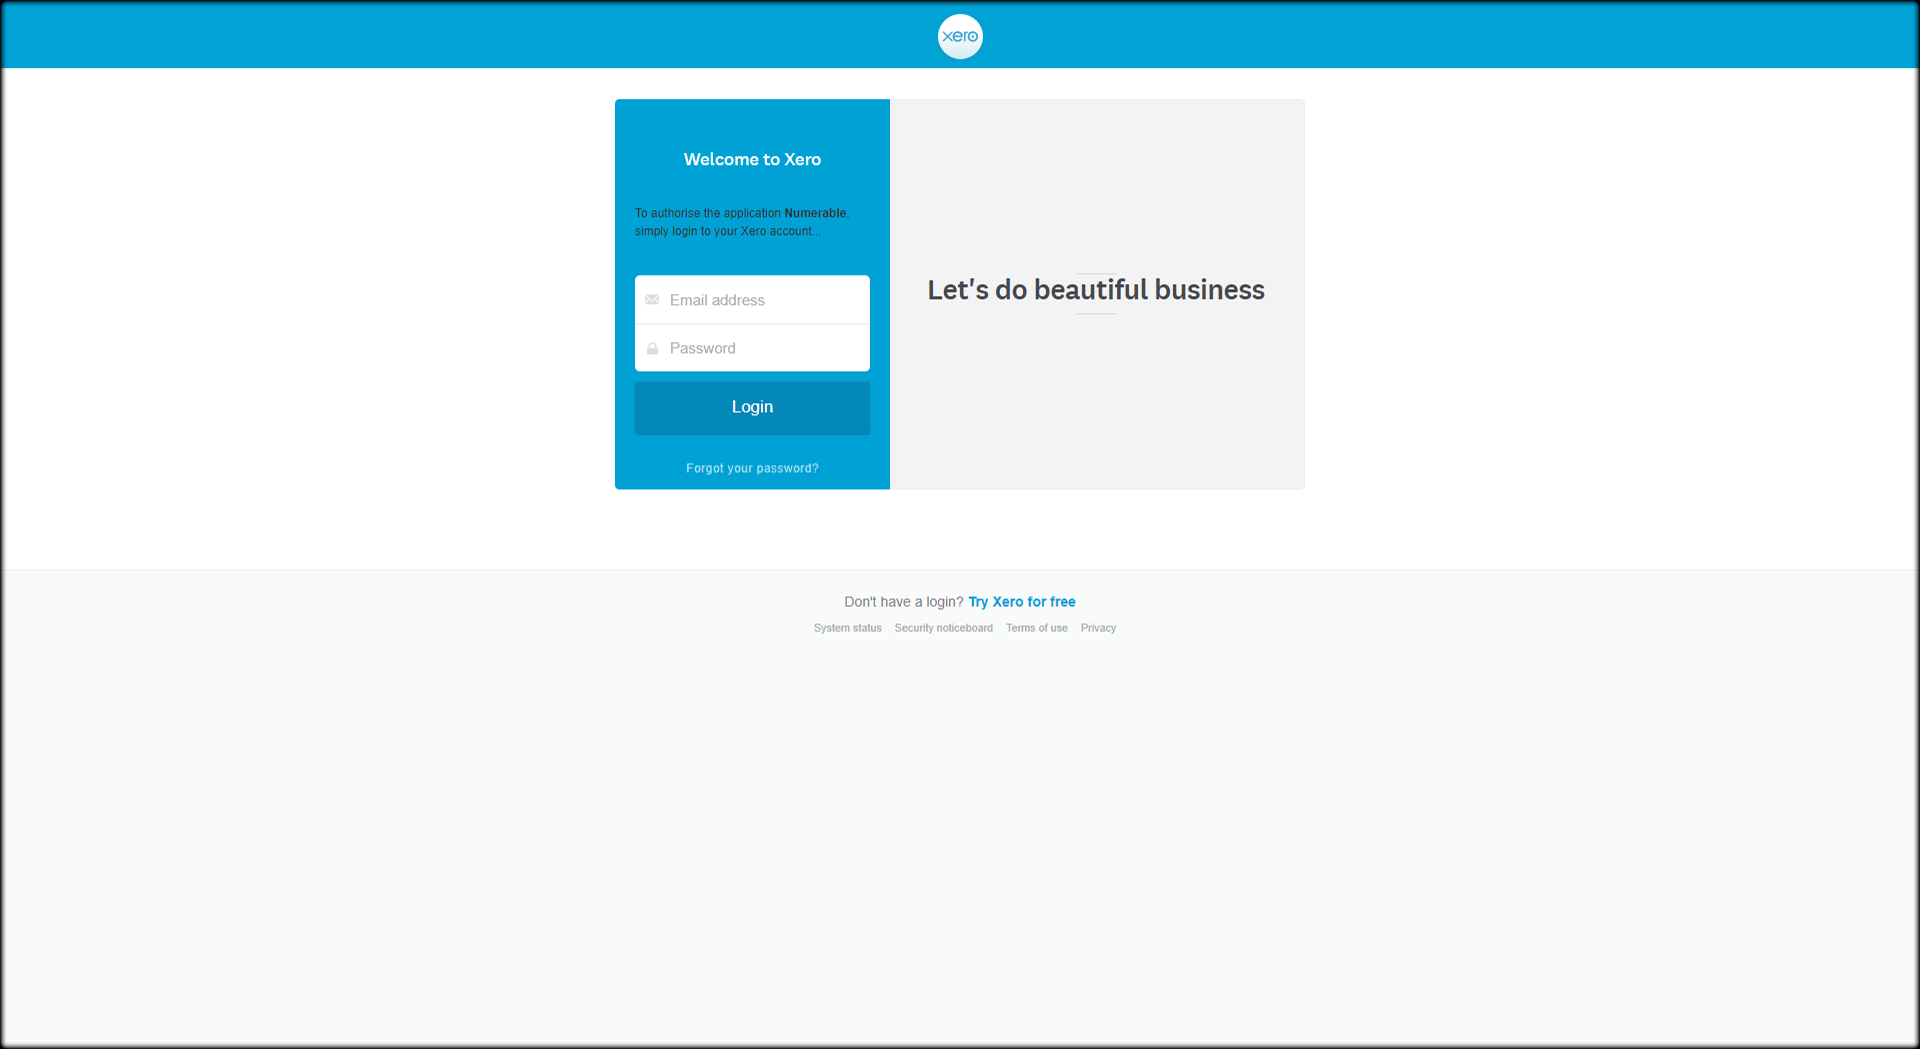
You are taken to the login page on Xero’s web system.
Enter your Xero login email address and password. Numerable does not have access to this email and password.
NB. If you are already logged in to Xero in your browser you miss this step and do not see the Xero login page
Step 4 – Allow access
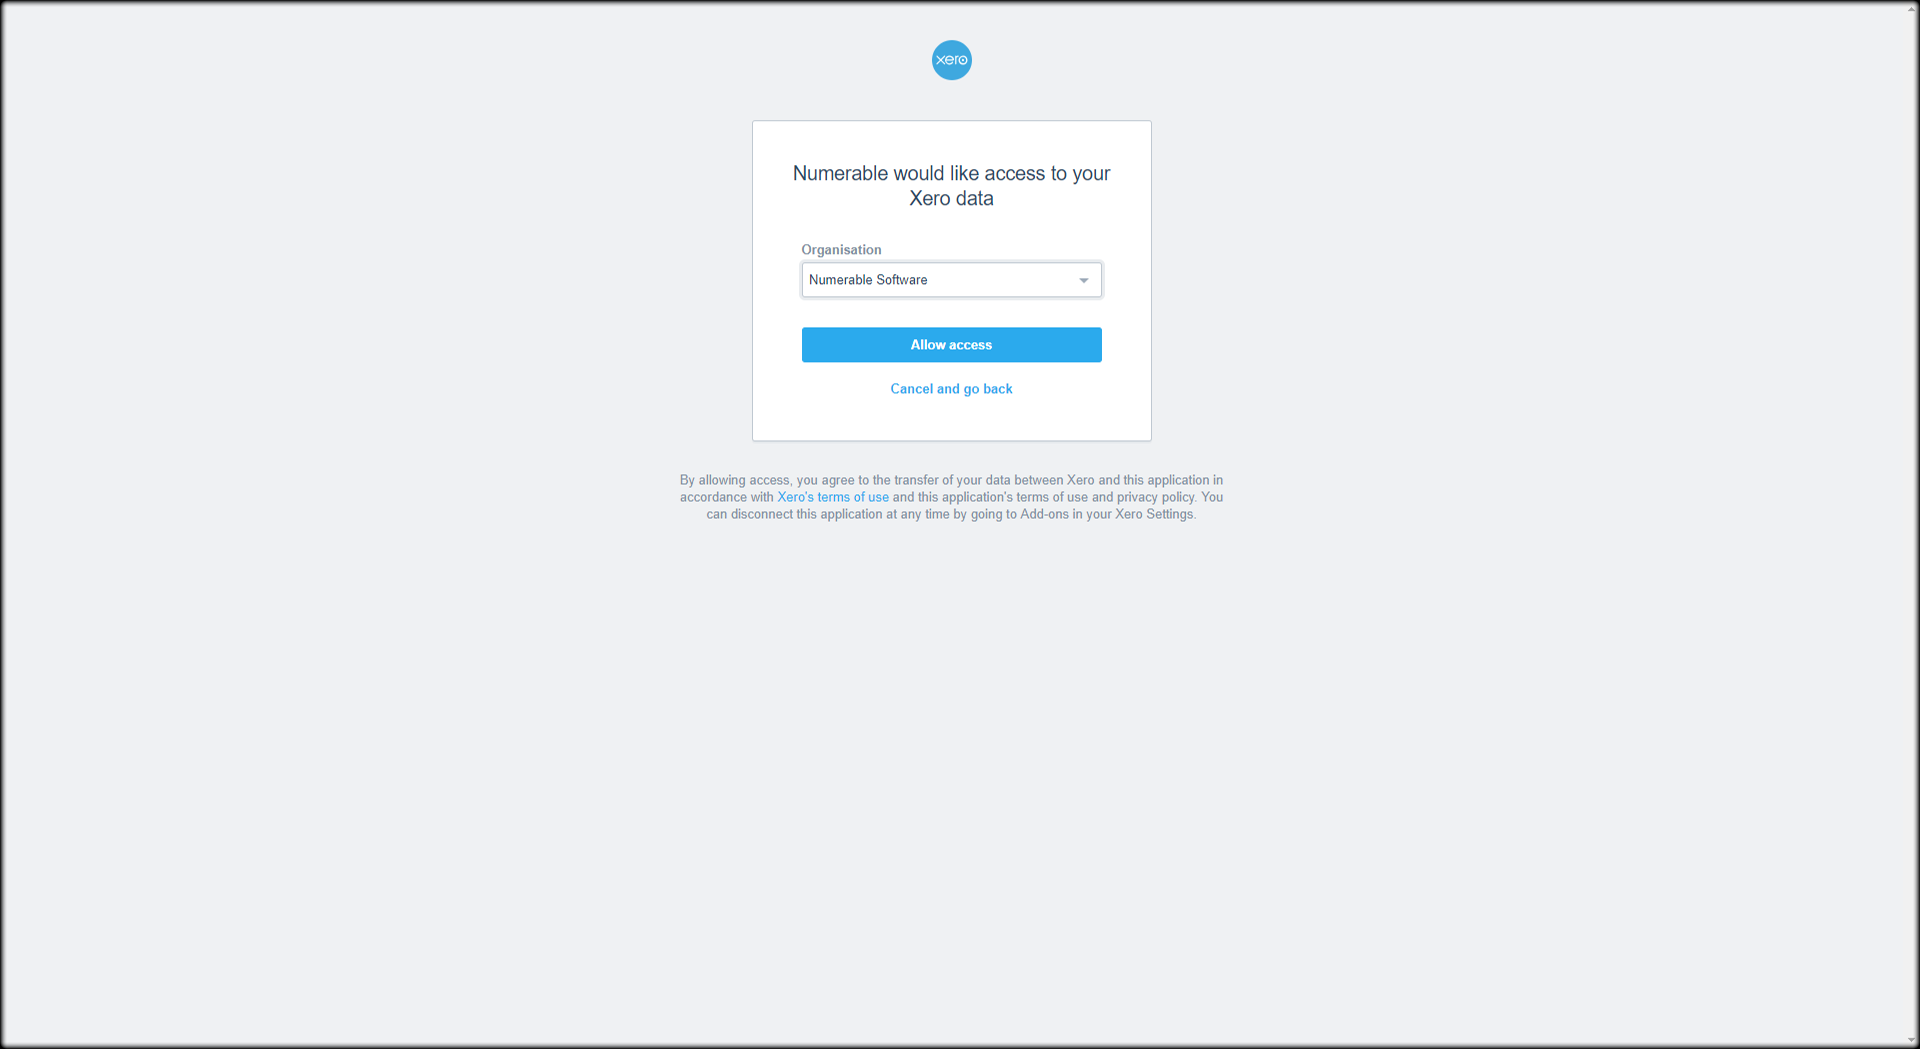
The next page, which is still on Xero’s web system, let’s you select which Xero organisation you want to import from.
If your Xero account has more than 1 organisation you can choose the one you want from the drop-down menu. That is not necessary if you only have access to one organisation, or if the menu is already showing you the one you want to import to NumerableWhen you are ready, click on the ‘Allow access’ button.
Step 5 – Importing from Xero
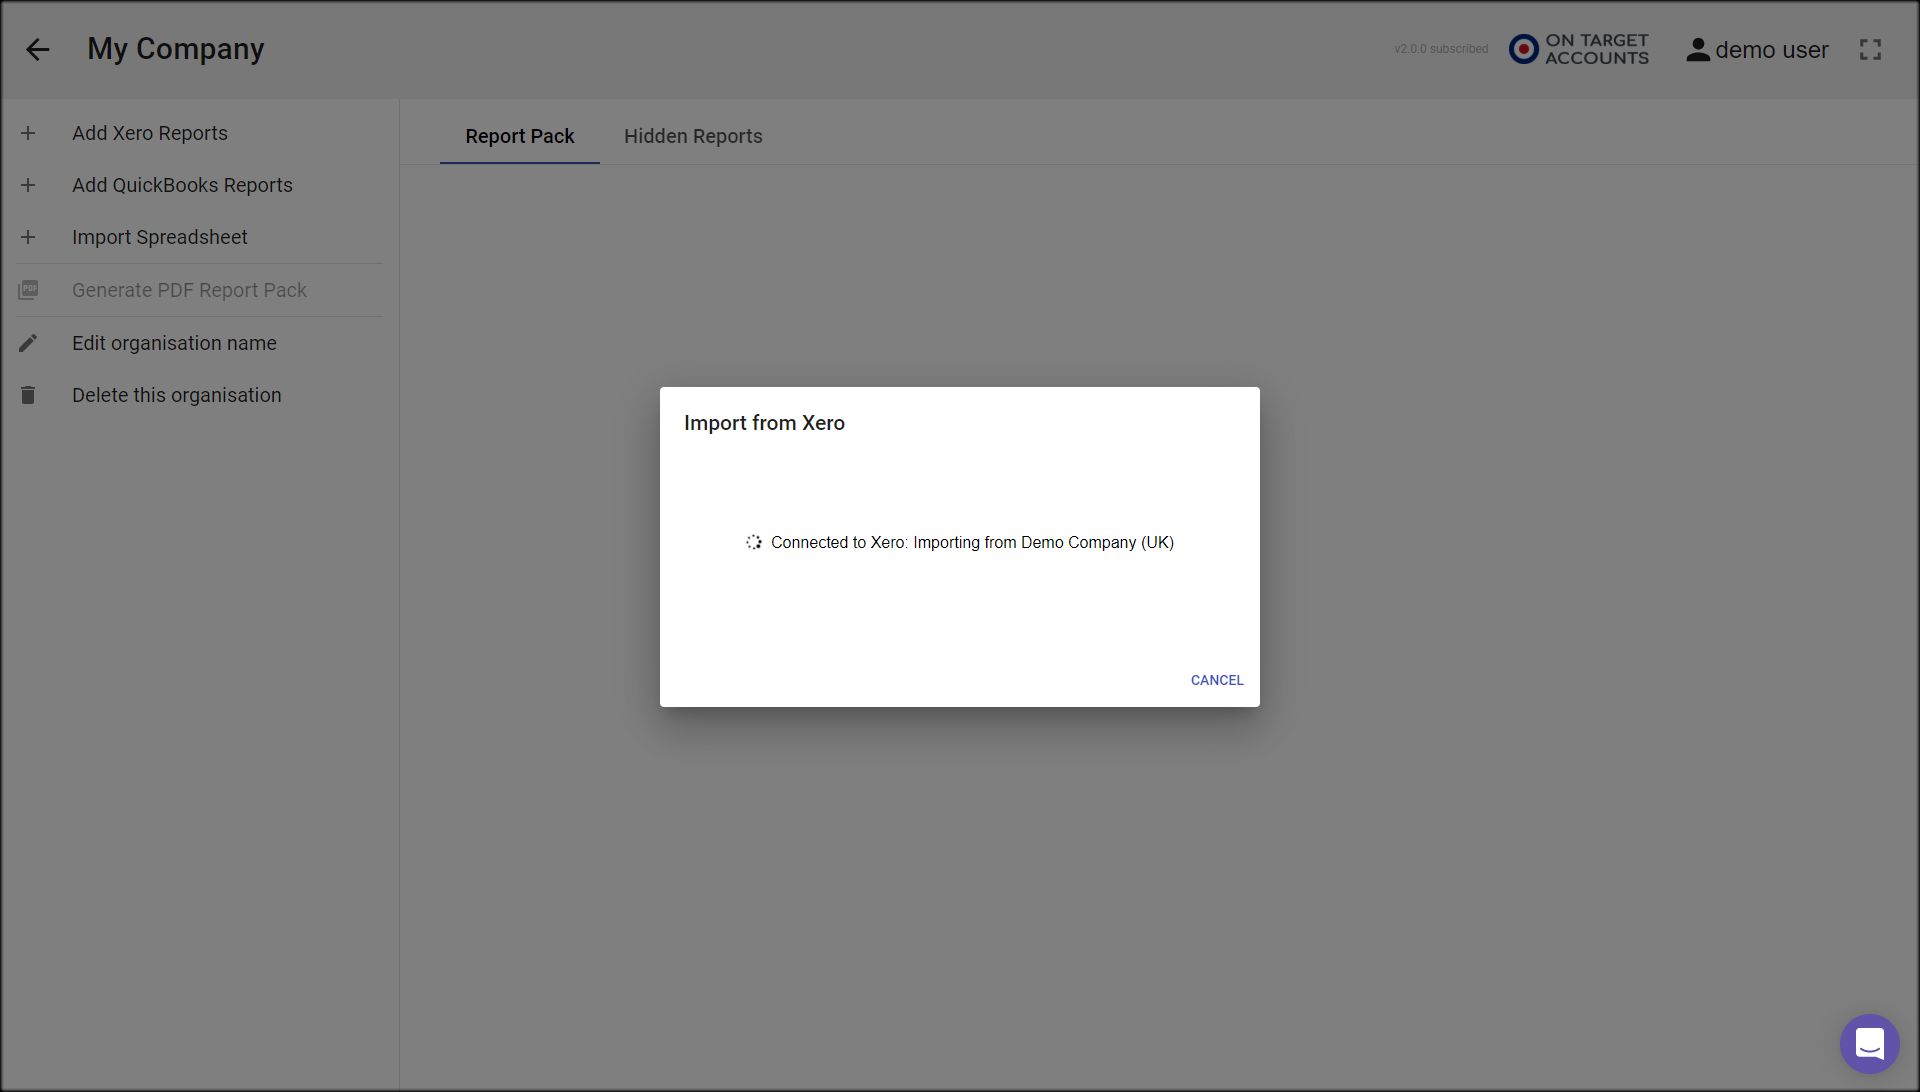
During the import of data you are shown a message confirming that the import is taking place, and the organisation you have selected.
The import typically takes between 10 and 1 minute.
Step 6 – Import complete
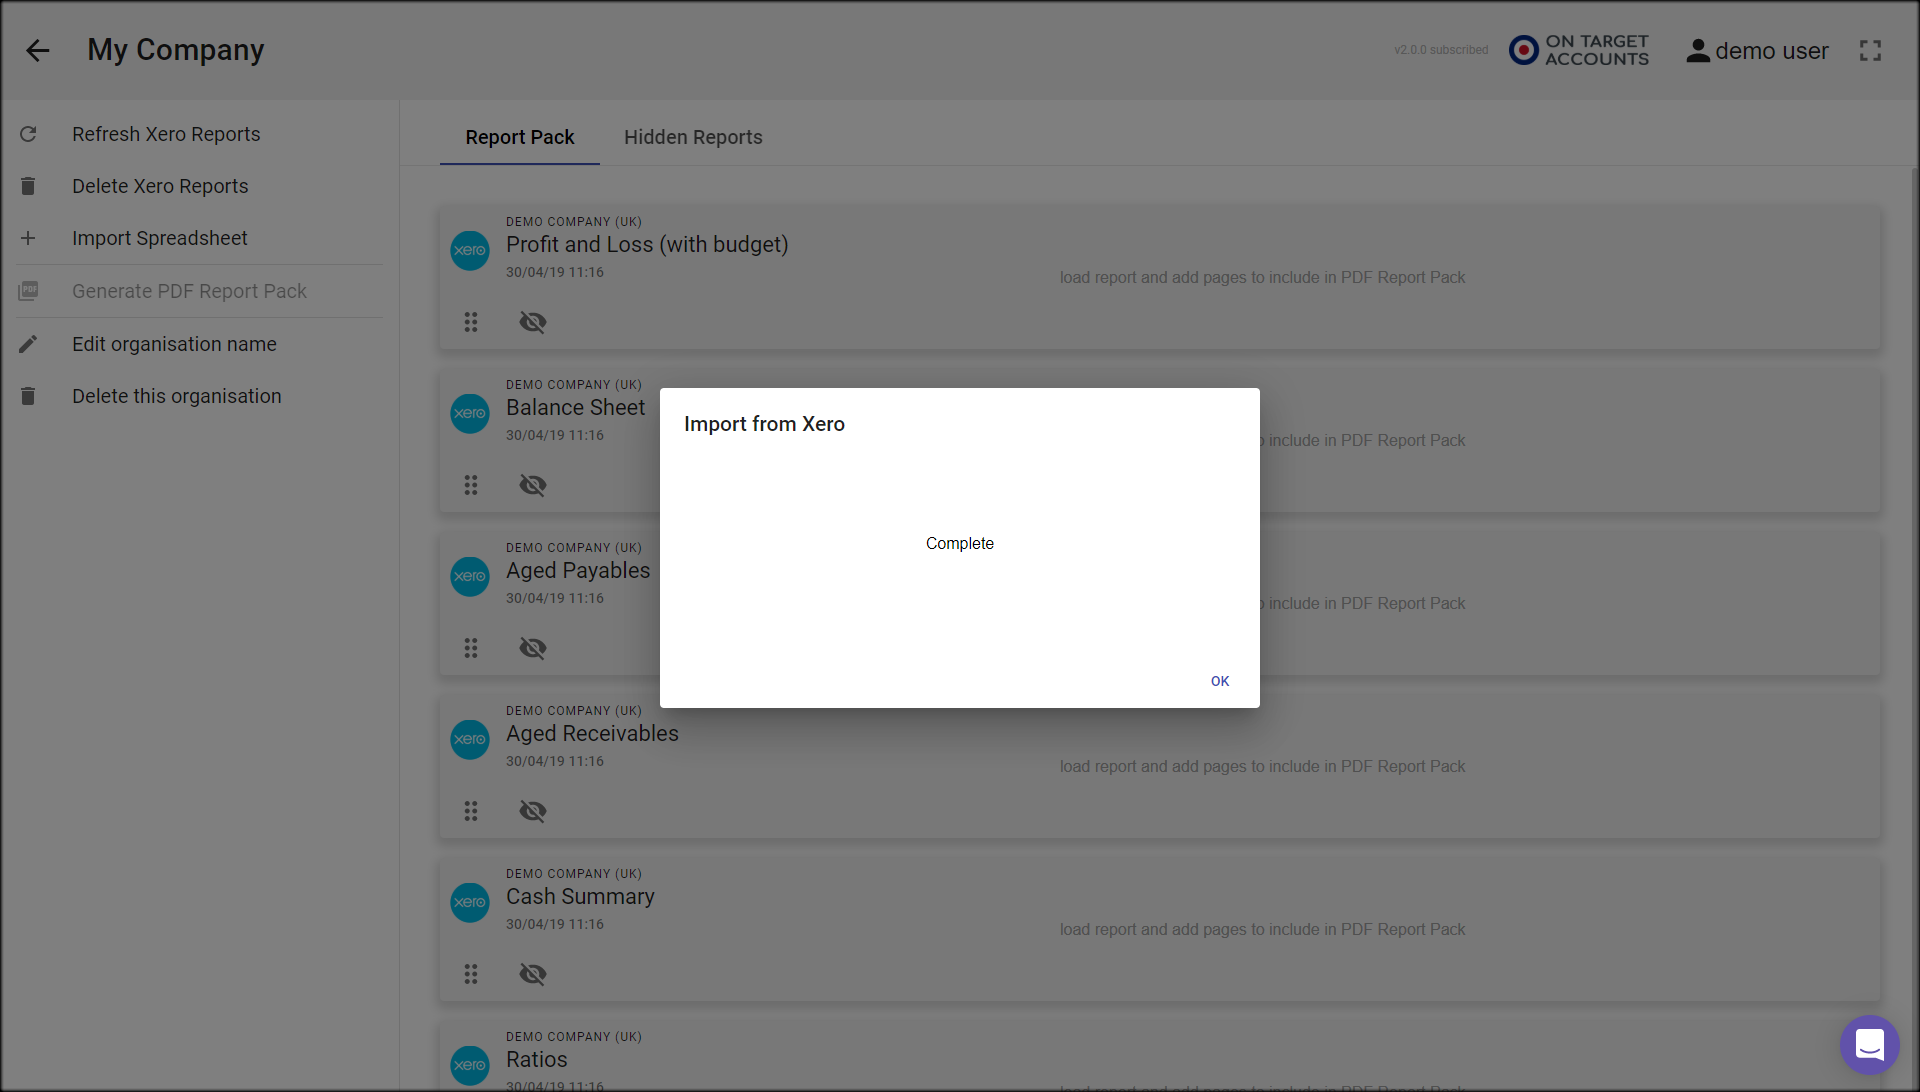
When the import has been completed, the message tells you.
It also confirms that Numerable has ‘disconnected’ from Xero and can no longer access data (until the next time you request it).
Clock on the ‘Ok’ button to clear the message
Step 7 – Finished!
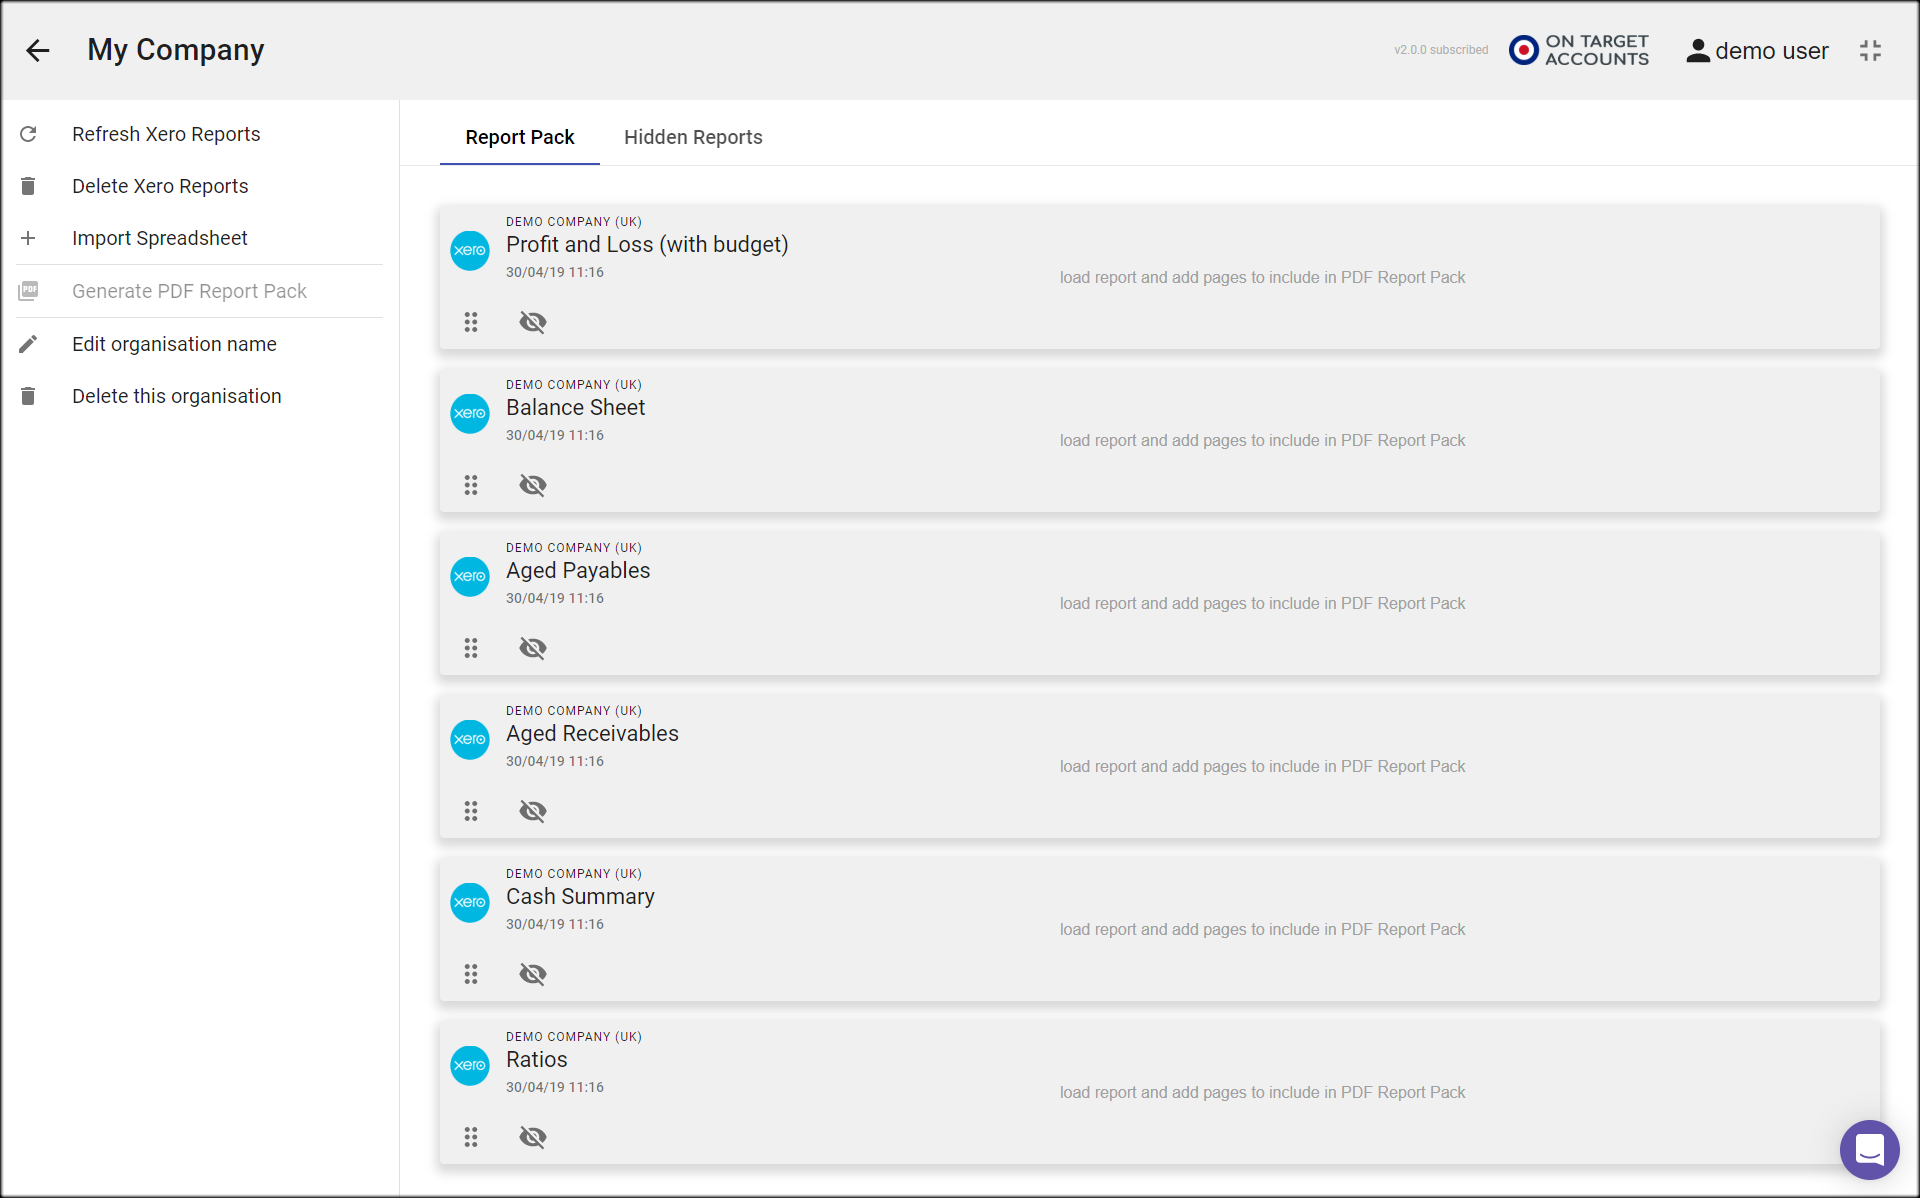
Now you are back on the Organisation page and can see the set of reports you have just added.
You can check that the import was successful by looking for the updated time and date next to the organisation name on each report card.
Just click on any of the report cards to start exploring the new information!

